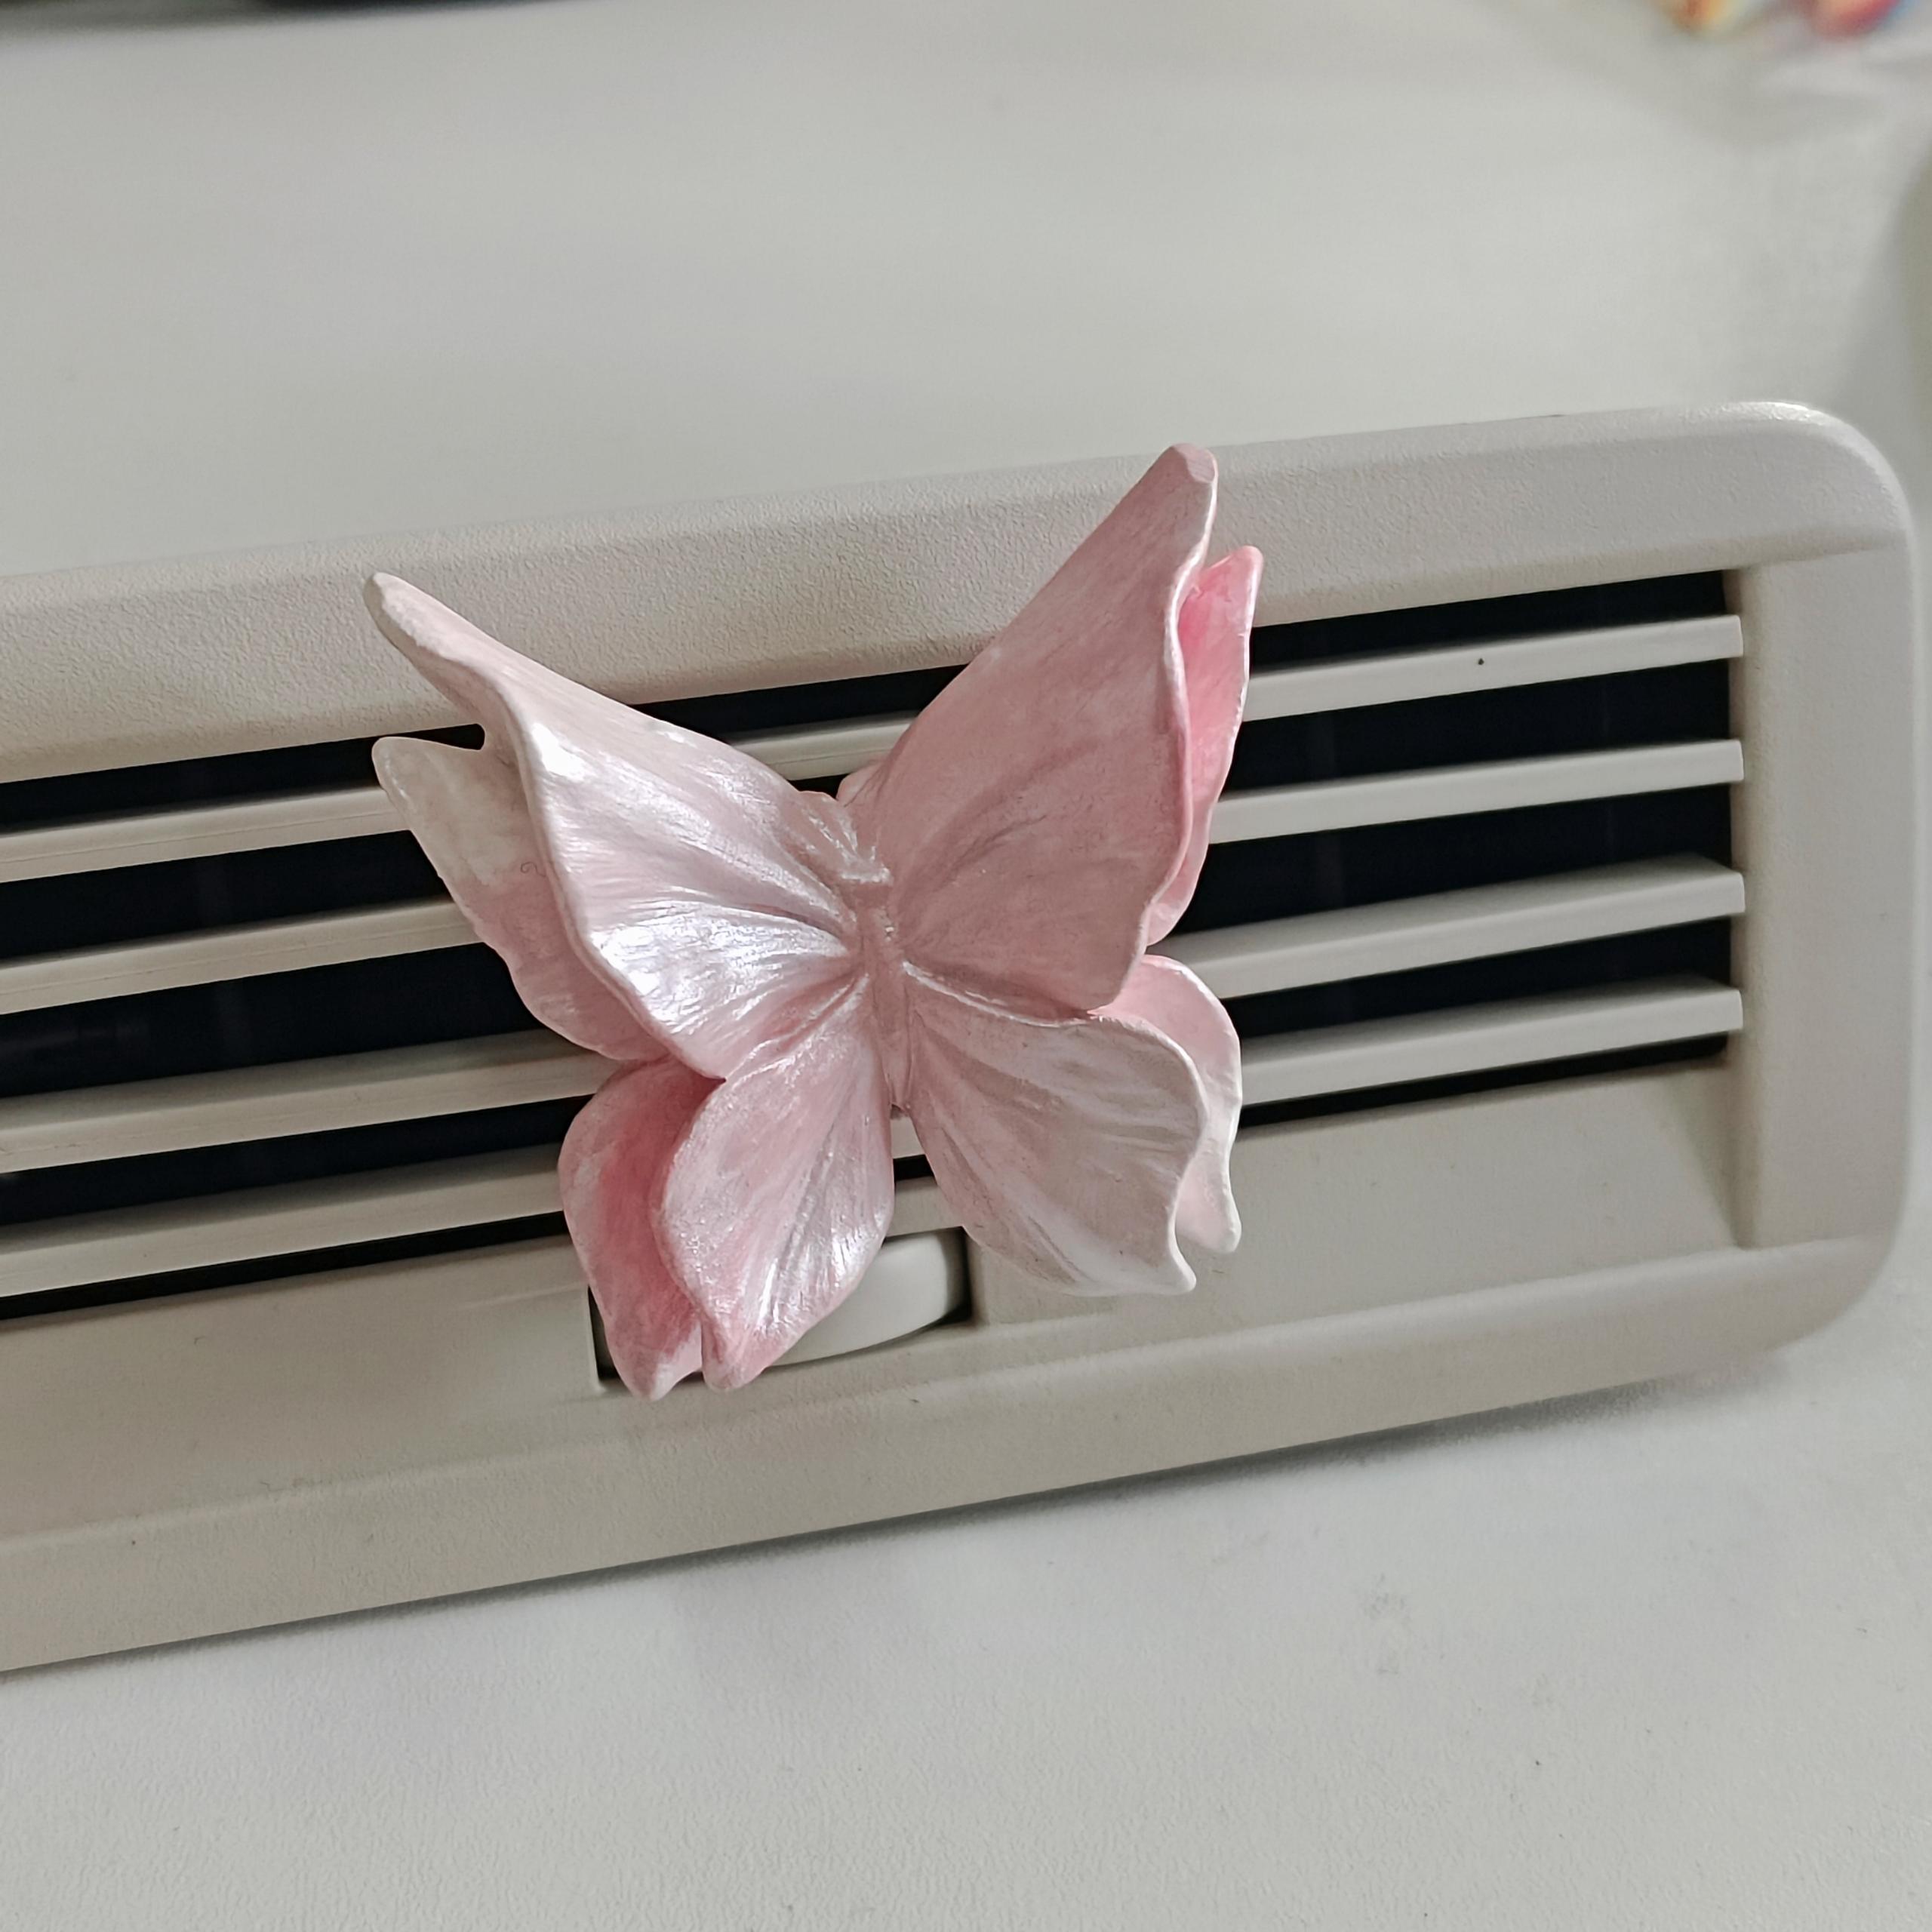
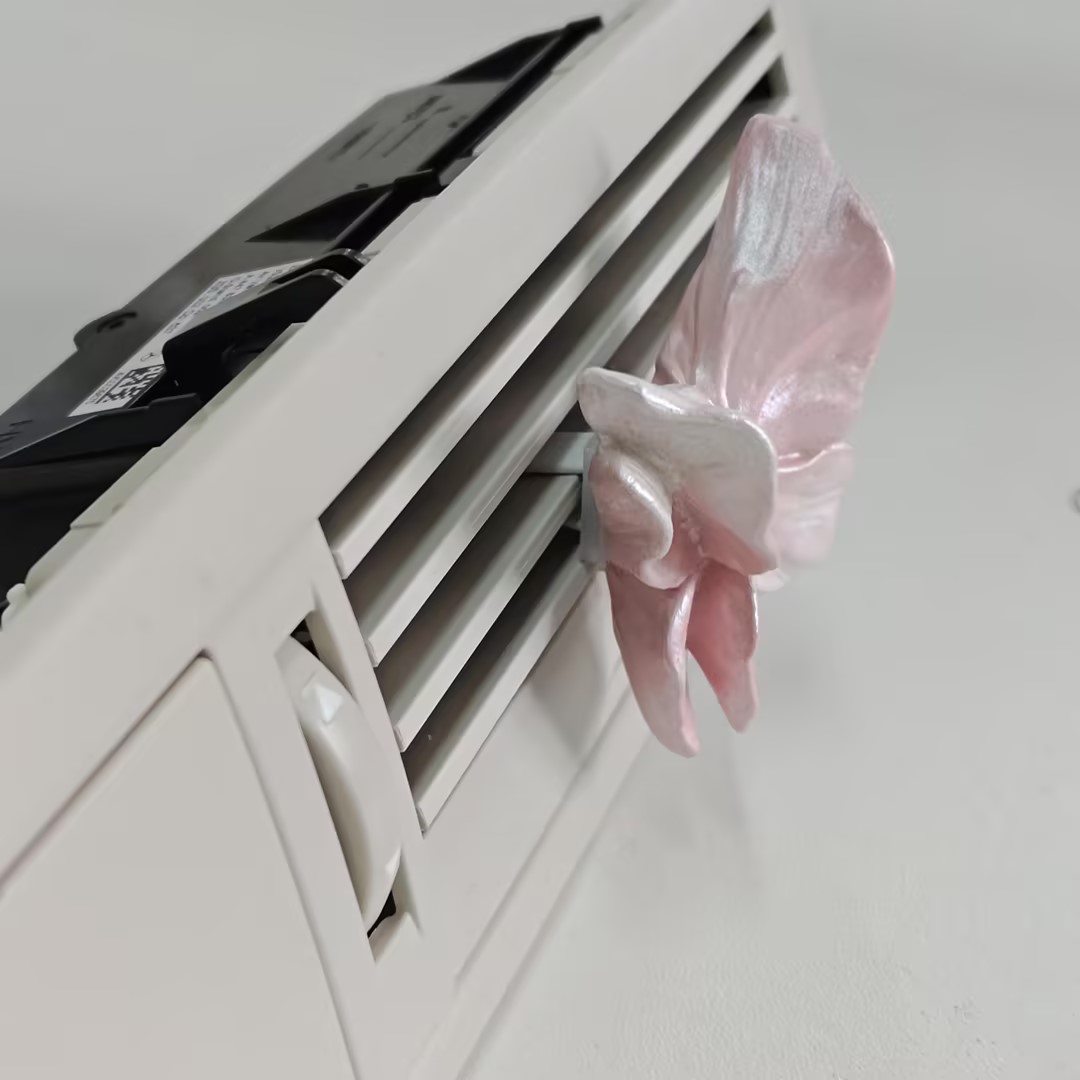
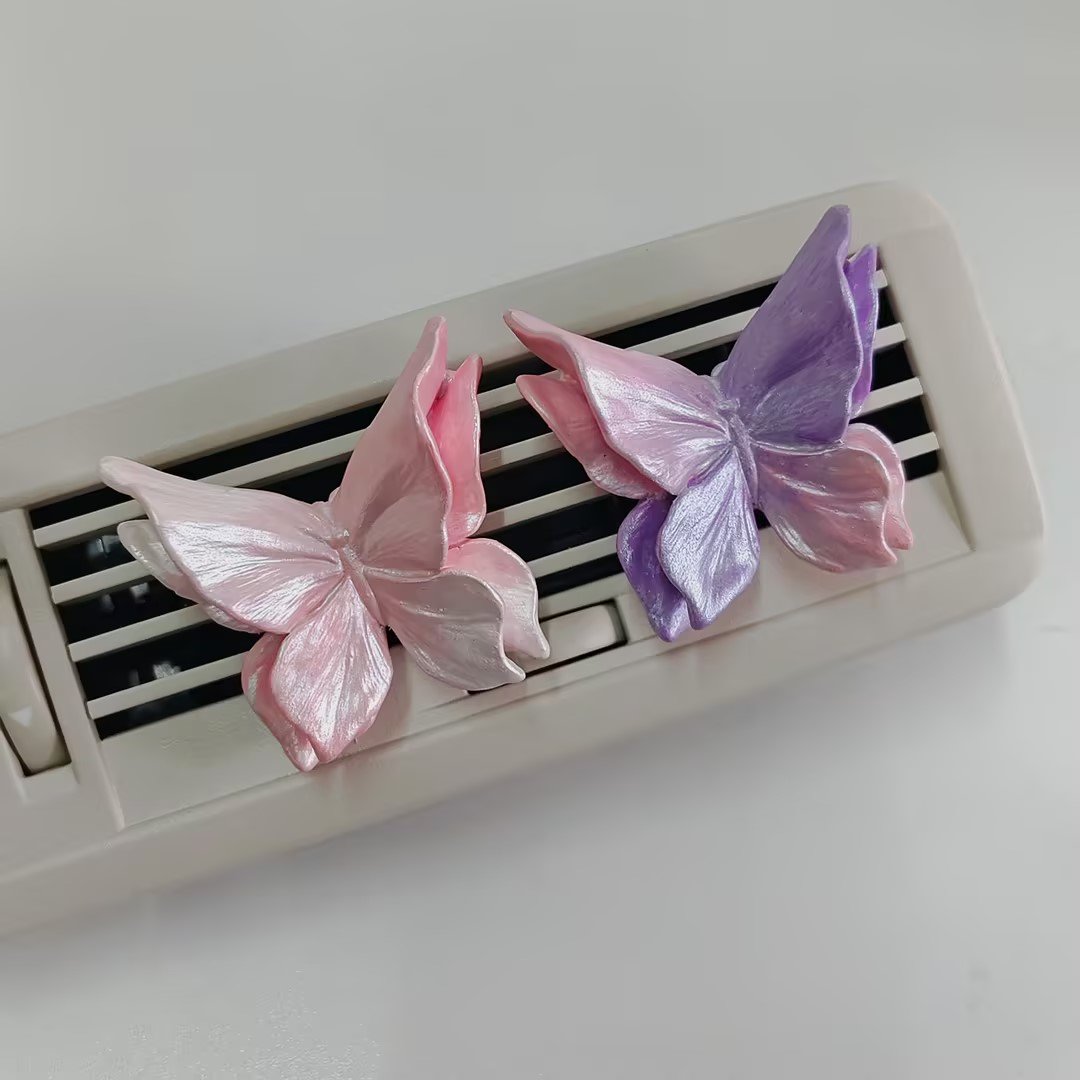
1. Proper installation of the clip
Watch the installation video below before proceeding to ensure correct installation and to protect your vehicle:

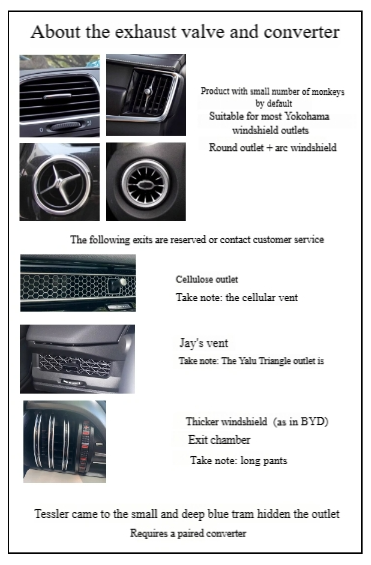
2. Choose the Appropriate Clip Type
•Clip Types: Small Clip, Long Clip, Thin Long Clip
•Default Clip Provided: Small Clip
Most Roaming Rainbow diffuser clips are designed to automatically adjust their grip to fit various vent shapes and sizes
3. Pay Attention to the Angle and Placement of the Clip
Ensure the clip is installed at the correct angle. An improper angle may affect the diffusion of fragrance. Positioning is also important; place the clip where it can evenly distribute the scent, such as near the driver or passenger area. If the scent feels too strong or weak, adjust the vent speed or the clip’s angle accordingly.


4. Check the Stability of the Car Vent
Before installing the diffuser clip, check the condition of your air vents. Loose or damaged vents may prevent the clip from staying securely in place, leading to slippage or detachment. Ensure the vent is free of dust and debris, as these can reduce the clip’s stability.
5. Regularly inspect the clip and aroma diffuser
To maintain a continuous fragrance and fresh air in your vehicle, regularly check the clip’s stability. Over time, vibrations and frequent use can loosen the clip. Adjust or replace it as needed to keep the diffuser securely attached.
Additionally, the Roaming Rainbow diffuser will gradually lose its scent over time. Add a few drops of essential oil to the back of the diffuser to refresh the aroma. Typically, the scent lasts for several days or longer, depending on factors such as air humidity and ventilation.
6.Safety reminder
While installing the Roaming Rainbow diffuser on the air vent is simple, ensure it doesn’t obstruct your vision or interfere with driving controls. Avoid placing the clip in areas that could impair the driver’s line of sight. Choose a secure location to prevent the diffuser from falling or causing safety hazards during driving.

